Festive Fix-Ups: 5 DIY Stone Mountain Roof Repair Solutions
Have you ever looked up at your roof and wondered how you could fix those minor issues yourself? Well, you’re in luck! Today, we will talk about five DIY roof repair solutions that are especially relevant for us living in Stone Mountain, GA. So, grab your tool belt, and let’s get started!
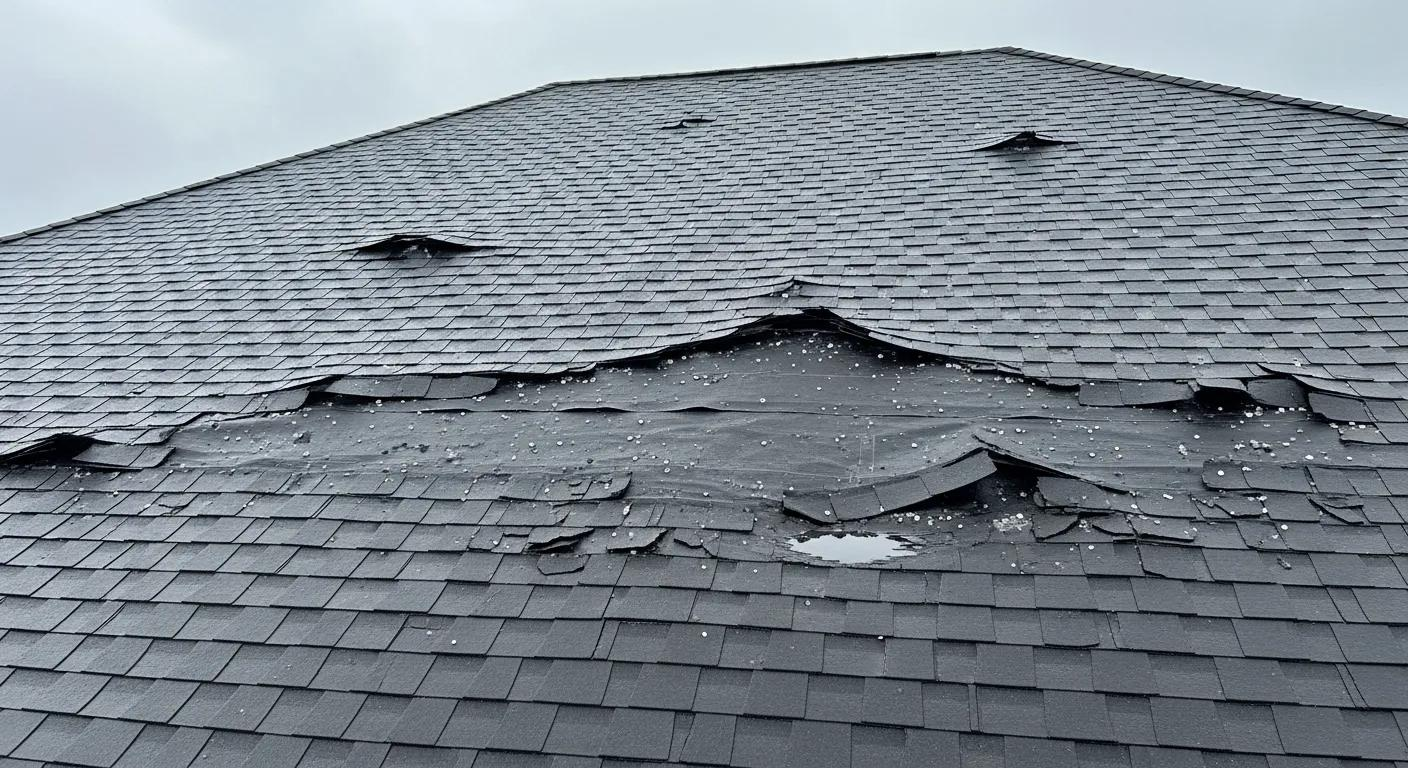
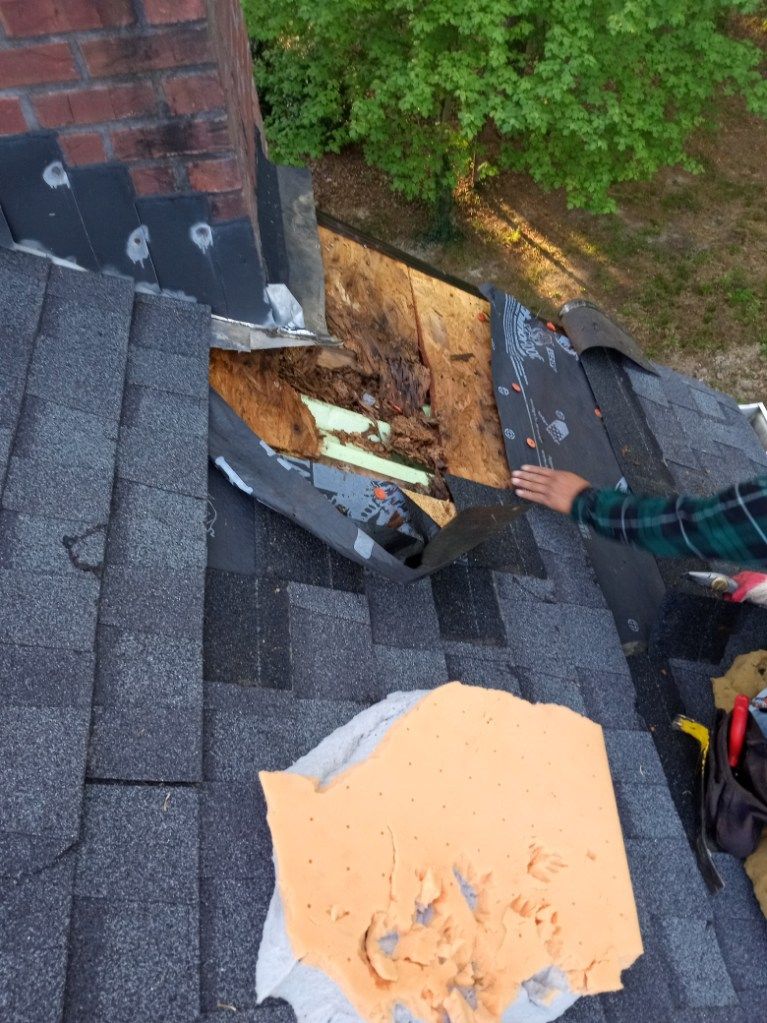
Replacing Damaged Shingles
Got a damaged shingle? Here’s a step-by-step guide on how to replace it:
- Gather Your Tools: You’ll need a pry bar, a hammer, roofing nails, and replacement shingles.
- Identify Damaged Shingles: Look for cracked, missing, or visibly worn-out shingles.
- Remove Damaged Shingles: Use your pry bar to carefully lift the edges of the shingles surrounding the damaged ones. Then, remove the nails holding the damaged shingle in place and slide it out.
- Prepare the New Shingle: If necessary, trim your new shingle to match the size of the old one. It must fit correctly to ensure your roof remains watertight.
- Install the New Shingle: Carefully slide the new shingle into position and firmly secure it with roofing nails. Make sure you nail it in the same spots as the old shingle to guarantee a snug and precise fit.
- Seal the Shingle: Apply a bit of roof cement over the nail heads and the shingle's edges to seal it and keep water out.
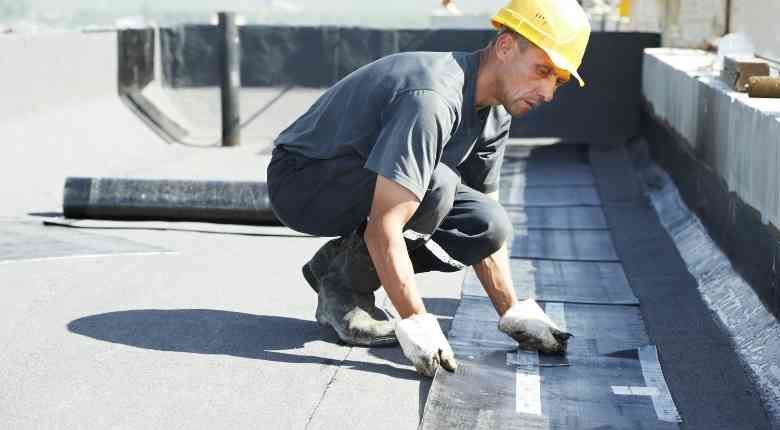
Fixing Roof Leaks
Roof leaks can be tricky to locate, but they’re usually pretty easy to fix once you find them.
- Locate the Leak: Look for signs of water damage in your attic or ceiling. Water stains, mold, or damp spots can all indicate a leak. Remember, water can travel before it drips down visibly, so the leak may be higher on the roof.
- Inspect Your Roof: Once you’ve found the general area of the leak inside, inspect your roof for damage. Look for damaged or missing shingles, cracked flashing, or any other signs of damage.
- Seal the Leak: Once you’ve found the source of the leak, apply a generous amount of roof sealant to the area. Make sure to get the sealant into any cracks or gaps where water could get in.
- Check for Other Leaks: After you’ve fixed the leak, check the rest of your roof for any other potential leaks. It’s possible for there to be more than one.
Maintaining Your Gutters
Your gutters play a crucial role in keeping your roof healthy by directing water away from it. Here’s how you can maintain them:
- Regular Cleaning: Clean your gutters at least twice a year to remove leaves, twigs, and other debris. This ensures that water can flow freely off your roof and away from your home.
- Check for Damage: While cleaning your gutters, look for any signs of damage. Cracks, holes, or sagging sections can lead to water damage to your roof and house. If you find any damage, it’s usually a simple fix with some gutter sealant or a replacement section.
- Ensure Proper Installation: Your gutters should be installed at a slight angle so that water can flow towards the downspouts. If your gutters are level or sloping the wrong way, water can pool and cause damage.
- Install Gutter Guards: Gutter guards are a great way to reduce the amount of debris that gets into your gutters. This can significantly reduce the amount of cleaning you need to do and prevent clogs.
- Watch for Ice Dams: In colder climates, ice dams can form in your gutters. These can cause water to back up onto your roof and lead to damage. If you notice ice dams forming, it’s important to remove them as soon as possible.
Checking and Repairing Roof Flashing
Roof flashing is a vital part of your roof that helps prevent water leaks. It’s typically made of metal and is installed in places where your roof is penetrated by vents, chimneys, or where the roof meets dormers and walls.
Here’s how you can check and repair your roof flashing:
- Inspect Your Flashing: Look for signs of damage such as rust, cracks, or loosened pieces. Also, check the sealant around the flashing for any cracks or gaps.
- Remove Damaged Flashing: If your flashing is damaged, you’ll need to remove it. Carefully pry it up with a pry bar, being careful not to damage the surrounding shingles or roofing material.
- Prepare the New Flashing: Cut your new flashing to match the size of the old piece. It must fit correctly to ensure your roof remains watertight.
- Install the New Flashing: Slide the new flashing into place and secure it with roofing nails. Make sure to nail it in the same spots where the old flashing was nailed to ensure a tight fit.
- Seal the Flashing: Apply a generous amount of roofing sealant around the edges of the flashing and over the nail heads to create a watertight seal.
Moss and Algae Removal
Moss and algae can not only make your roof look less appealing, but they can also cause damage over time. Here’s how you can remove them:
- Safety First: Before you start, remember to take safety precautions. Use a sturdy ladder, wear non-slip shoes, and consider using a safety harness.
- Dry Day: Choose a dry day to clean your roof. Wet roofs can be slippery and dangerous.
- Protective Gear: Wear protective clothing, including gloves and eye protection. The cleaning solutions used can be harmful if they come into contact with your skin or eyes.
- Cleaning Solution: You can purchase a moss and algae cleaner at most home improvement stores. Alternatively, you can make your own solution with one part bleach and four parts water.
- Apply the Solution: Using a sprayer, apply the cleaning solution to the affected roof areas. Let it sit for about 15–20 minutes, but don’t let it dry out. Reapply if necessary.
- Gentle Cleaning: Gently scrub the treated areas with a soft-bristle brush to remove the moss and algae. Be careful not to scrub too hard, or you could damage the shingles.
- Rinse: Rinse your roof thoroughly with water. Start at the top and work your way down to prevent water from getting under the shingles.
- Prevention: To prevent moss and algae from returning, consider installing zinc or copper strips at the peak of your roof. When it rains, the metals react with the water to create a substance that can kill moss and algae.
When to Call a Professional
While DIY repairs can solve minor issues, some problems require a professional touch. If you notice extensive damage or persistent leaks, or if your roof is old, it might be time to call a professional. Remember, it’s always better to be safe than sorry!
Conclusion
And there you have it, folks! We’ve walked through the ins and outs of DIY roof repair, from understanding your roof’s structure to knowing when it’s time to call in the pros. Remember, regular maintenance is vital to keeping your roof in top shape. But if you ever feel unsure or the job seems too big, don’t hesitate to call Pineapple Express Roofing. As
Stone Mountain roof repair experts, we would be more than happy to help with your roofing needs.
Contact us today for a free quote!